Compressing Limited Colour PNG images
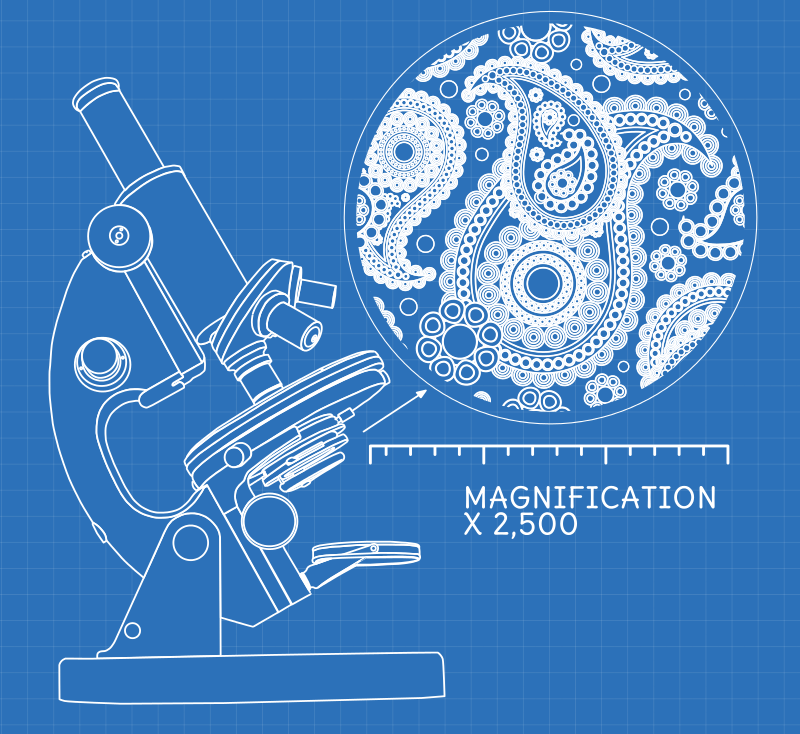
Most of the .PNG files on this site are the ‘blueprint’ style diagrams, like this one:
I create these in Inkscape as vector .SVG files & export them to bitmap .PNG files. I then re-compress them, to ensure that the image files that are used on the live website are as small & quick to load as possible.
As these diagrams have a fairly limited colour palette, I can get lots of extra compression by reducing the colour depth of the final .PNG files from the default 32bit (millions of colours) to 8bit (256 colours) - without any loss of visual quality.
This is a two-step process - which can be combined into a single pipeline. The first step is pngnq which quantizes the image, reducing its colour depth. The second step uses advpng to losslessly re-compress this image data to get the smallest possible filesize.
To install these two utilities on ubuntu/debian Linux, run this in a console:
$ sudo apt-get install advancecomp pngnqThe basic idea is to do the following to the file, running it through both utilities, one after the other:
$ pngnq -s1 image.png
$ advpng -z -4 image.png
We can do that in one go by joining the commands together, like this:
$ pngnq -s1 image.png && advpng -z -4 -q image-nq8.pngBy default, pngnq adds -nq8 onto the end of the filename. You can change that with the -e parameter, but it doesn’t seem to support not changing the name - i.e. overwriting to original. As an added complication advpng doesn’t support processing from stdin to stdout, so we have to pass it a filename.
If we want to process a whole folder full of files, we can do this in parallel, getting all our machines cores in on the action, using find and xargs. This example uses 4 processes to do 4 files at once:
$ find . -iname "*png" -print0 | xargs -r0 --max-procs=4 -n1 sh -c 'pngnq -s1 "$1" && advpng -z -4 -q "${1%.*}"-nq8.png' -You can adjust the --max-procs=4 bit to match the number of cores you have - or maybe one less, if you want to process a lot of images and do other things in the meantime.
Results
Using the microscope image at the start of this post as an example, these are the results that we get at each step:
| Process Step | Result |
|---|---|
| 1: Original SVG File | 5.6 MB |
| 2: Initial PNG Export | 409.3 kB |
| 3: Quantized with pngnq | 123.6 kB |
| 4: Compressed with advpng | 118.5 kB |
This example is a huge SVG file by my standards - the paisley vector clipart I used is very detailed and ~3MB on its own; my normal SVG files are generally under 1024 kB. If we use a more typical SVG file, like the one from my Reddit Bots article (which is 835.2 kB), we still get excellent compression, down to 78.5 kB – just 9% of the original size and less than ⅓ of the initial PNG export size:

Re-compressing all the blueprint style diagrams on this site - which I had previously already re-compressed using PNGOUT - reduced their total file size from 845.9 Kb to 385.2 Kb - a whopping ~55% reduction. Just goes to show that you need to test and adapt techniques to your particular situation - rather than just applying them blindly.
General PNG Compression
You don’t always want to reduce the colour palette - not all images are suitable for this. In that case, you can reduce the process to only one step. You can do this, to process a folder full of PNG files, four at once:
$ find . -iname "*png" -print0 | xargs -0 --max-procs=4 -n 1 advpng -z -4 -qThis just runs each file through advpng to maximally compress the existing image data, losslessly, without changing the colour depth or quality at all.
To make this easier, I created some Thunar Custom Actions that give you the option to do either of these things when you right-click on a PNG file.