I’ve been fermenting vegetables of various kinds (and occasionally other things) at home for a little over two years. It’s a fun, interesting & nutritious hobby. On the whole it’s pretty easy and low stakes – the worst thing that happens is a few cucumbers go mouldy.
Because it doesn’t involve any heat – but does include pouring, measuring, stirring, spiralizing, grating (and some chopping) – it’s ideal to do with little kids.
According to my notes (which I didn’t start initially), I’ve made ~56 batches of ferments, ranging in size from a single 1l mason jar, to three 2l ones.
These are my lessons so far:
The difference between science & screwing around, is writing it down
As they say, the difference between science and screwing around is writing it down – so keep notes. If you want to perfect recipes & techniques, write down what you did and iterate. Change things which didn’t work out, ideally just changing one thing at a time, so you can see the effect.
Leave headspace at the top of the jar
Leave a layer of clear brine, above the ferment & weights. For short ferments up to a month, ~1.5” or ~4 cm. For longer ferments, double it. Only the good lacto-fermenting bacteria can grow in the brine (mostly), so a layer of clear brine at the top will keep anything else from getting to your fermenting vegetables down below. Sometimes things grow on the surface (see below) – but if you have enough headspace, you can just skim it off and it won’t bother the ferments below.
Keep everything underneath the brine
Make sure nothing rises to, or floats on, the surface. No matter what you do, anything on the surface will go mouldy eventually. Simple ways to do this are to push a whole cabbage leaf down over the top of everything, or a slice of rutabaga/swede that’s about the same size as the jar – then a weight on top of that.
What is the white stuff on the surface of the water/What is Kahm Yeast & do I have it?
This is by far the most common question on /r/fermentation.
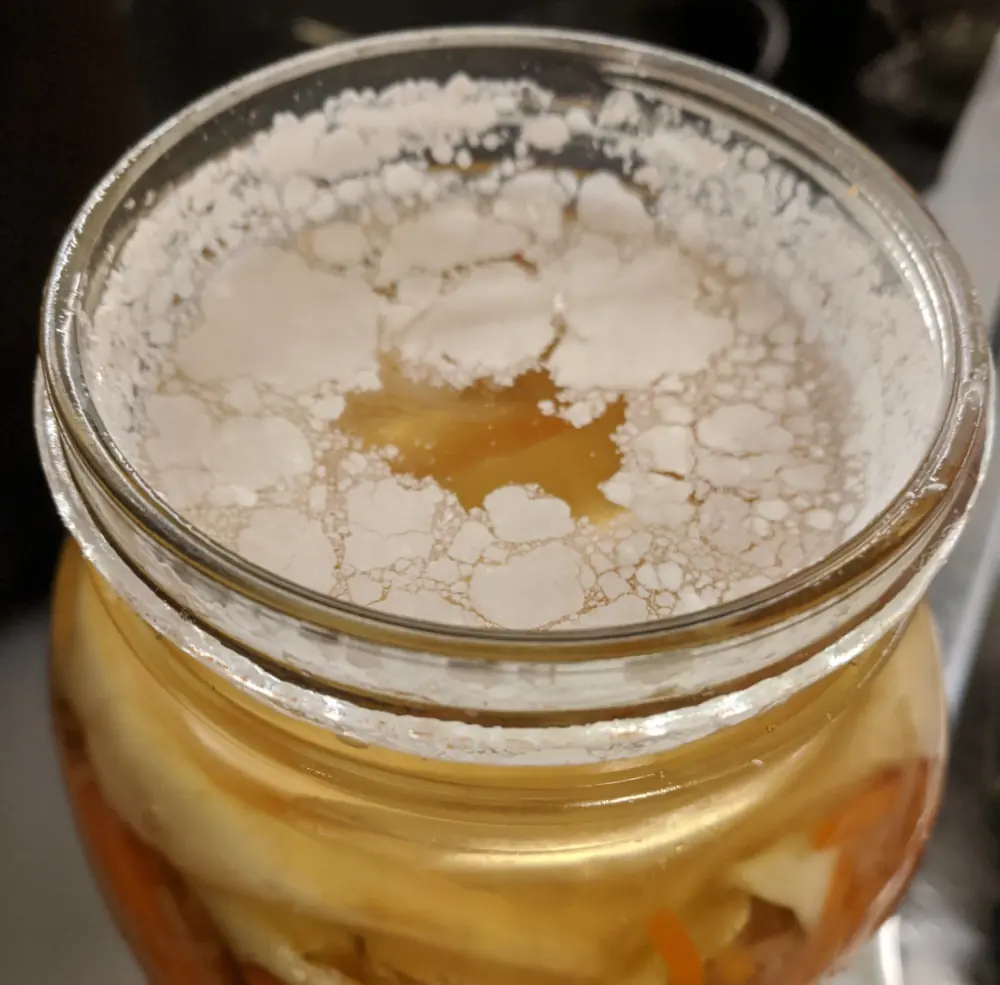
Kahm Yeast looks like a thin, white, mostly flat patchy layer on the surface of the brine. It’s mostly harmless, but if you leave it too long it’ll make things taste off – skim it off with a spoon or kitchen paper.
Kahm yeast is white & fairly flat – anything colourful, furry/hairy or lumpy is mould. If you catch the mould early, skim it off and carry on. If it looks black/pink/angry or has taken over, remove it, maybe try a pickle and see what you think, but maybe compost the lot to be on the safe side.
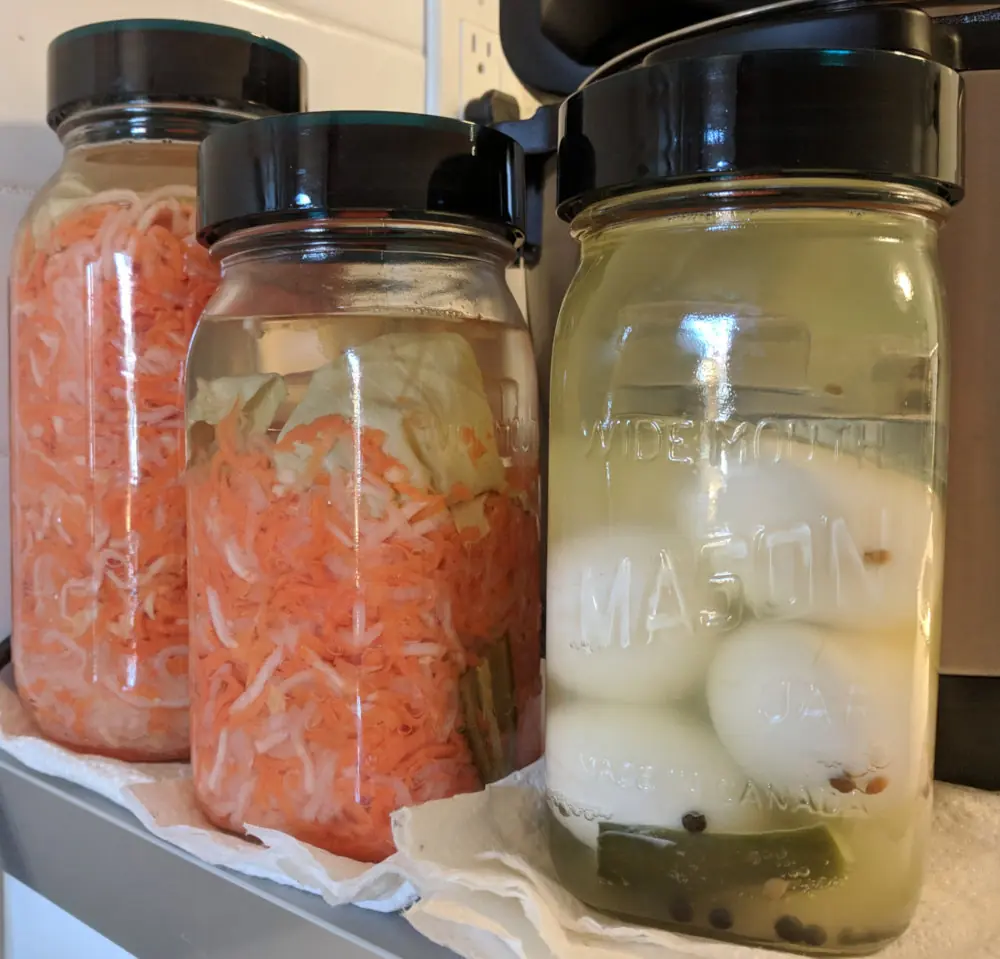
Use wide mouth mason jars, with Easy Fermenter lids & weights
The ferment will produce some CO₂, causing jars/lids to burst. Either “burp” it by unscrewing the lid a little or don’t fully tighten the lid.
Actually forget that, just use wide-mouth mason jars & Easy Fermenter lids – these are excellent, reducing mould and increasing ease & reliability quite a bit: Easy Fermenter Wide Mouth Lid Kit